
Blush is one of the easiest ways to make your makeup look fresh, healthy, and beautifully finished. The right shade and placement can add warmth to your complexion, bring dimension to your cheeks, and create anything from a soft everyday glow to a polished, lifted makeup look. However, knowing how to apply blush correctly can make a significant difference between a natural-looking finish and makeup that appears too heavy or uneven.
The secret is not simply choosing a pretty blush color. Your skin tone, undertone, face shape, formula, brush, and blending technique all influence the final result. A creamy peach blush may create a fresh, dewy finish, while a soft rose powder blush can deliver a more refined, velvety appearance.
The good news is that you do not need an extensive makeup collection or professional skills to get beautiful results. With a few practical techniques, you can find the right blush for your complexion and apply it in a way that complements your features.
In this guide, you will learn how to apply blush step by step, choose flattering shades, understand cream and powder formulas, identify the best placement for different face shapes, and make your blush last longer.
Why Blush Makes Such a Difference
Blush adds color to the cheeks and helps create balance in a makeup look. Foundation and concealer can even out the appearance of the complexion, but they may also reduce the natural variations that give the face dimension. A little blush can restore that fresh, lively appearance.
Blush can also connect different parts of your makeup. When your lip color, eye makeup, and cheek color complement one another, your overall look often feels more cohesive.
Depending on the shade and placement, blush can create several effects:
- A fresh everyday appearance: Soft pink, peach, or rose shades can create a subtle wash of color.
- A lifted makeup look: Placing blush slightly higher on the cheeks can emphasize the cheekbones.
- A sun-kissed finish: Peachy coral or warm pink shades can create a summery effect.
- A romantic look: Muted rose, berry, and mauve shades work beautifully with soft eye makeup.
- A polished evening look: More saturated blush can complement defined eyes, sculpted cheeks, and richer lip colors.
The most flattering result usually comes from working with your natural coloring rather than applying a large amount of product.
1. Prepare Your Skin Before Applying Blush
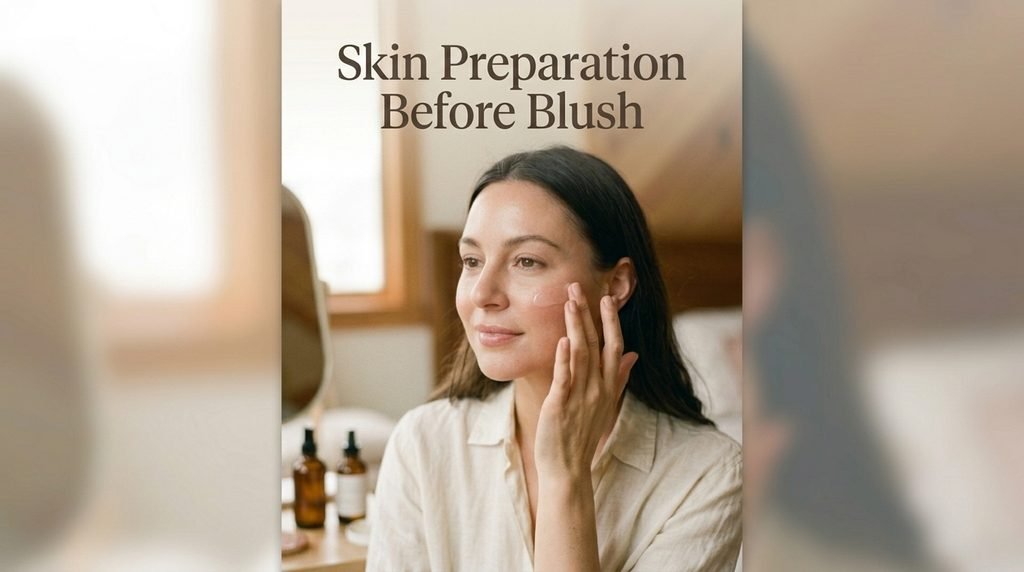
Beautiful blush application starts with your skin preparation. Even an excellent formula can look patchy if the skin underneath is very dry, excessively oily, or unevenly textured.
Cleanse and moisturize
Begin with clean skin and apply a moisturizer suited to your skin type. If your skin tends to feel dry, a comfortable, hydrating moisturizer can help makeup sit more evenly. If your skin is oily, a lightweight moisturizer may feel more comfortable.
Allow your skincare products to settle before applying makeup. Applying foundation immediately over a thick layer of moisturizer can sometimes cause products to move or pill.
Apply sunscreen during the daytime
If you are getting ready during the day, use broad-spectrum sunscreen as part of your skincare routine. Allow it to set according to the product instructions before continuing with makeup.
Choose a suitable base
Apply your foundation, skin tint, or concealer as desired. You do not need full coverage to wear blush successfully. A lightweight base can create a beautiful natural finish, particularly when paired with a sheer cream blush.
If you prefer powder blush, lightly set areas that tend to become oily or where your base needs additional staying power. Avoid applying excessive powder everywhere if you want a fresh, radiant appearance.
Pro tip: Keep your base layer relatively thin. Blush generally blends more naturally over a smooth, even layer of makeup than over several thick layers of foundation and concealer.

2. Choose the Right Blush Shade for Your Skin Tone
Selecting a flattering shade is one of the most important steps in learning how to apply blush. The best color depends on your complexion, undertone, personal style, and the effect you want to create.
Blush shades for fair skin
Fair complexions often look beautiful with light pink, soft peach, pale rose, and delicate cool pink shades. These colors can add freshness without overwhelming the rest of the makeup.
For a natural finish, start with a small amount of product and build the color gradually. Highly pigmented berry or red blush can also work, but a light application may be easier to control.
Blush shades for light-medium skin
Light-medium complexions can often wear peach, warm pink, dusty rose, soft coral, and muted apricot shades.
For everyday makeup, try a muted peach or rosy pink. For a warmer evening look, a richer coral or terracotta-rose shade can add depth.
Blush shades for medium and olive skin
Medium and olive complexions can look striking with warm rose, terracotta, apricot, coral, and deeper peach shades. Mauve and berry can also create a beautiful contrast.
If your complexion has an olive undertone, experiment with both warm and neutral shades rather than assuming every warm color will suit you. The finish and depth of the blush can be just as important as its color family.
Blush shades for deep skin
Deep complexions can beautifully complement rich berry, plum, brick red, terracotta, vivid coral, and saturated rose shades.
A deeper or more vibrant blush can remain visible and harmonious without requiring excessive layering. Look for formulas that show their color clearly on your complexion and blend smoothly at the edges.
Very pale blush is not automatically unsuitable for deep skin, but some sheer pastel formulas may leave an ashy appearance. Testing the color in natural light can help you find the most flattering result.
Understand your undertone
Your undertone can help narrow your options.
- Cool undertones: Cool pink, rose, berry, and blue-based red shades may complement your coloring.
- Warm undertones: Peach, coral, apricot, and warm terracotta shades are worth trying.
- Neutral undertones: Rose, peach-pink, and balanced mauve shades offer plenty of flexibility.
- Olive undertones: Muted rose, warm peach, terracotta, and selected berry shades can work depending on your complexion.
These are starting points, not strict rules. You can wear any color you enjoy. The key is to consider the depth, saturation, and undertone of the product together.
3. Choose Between Cream, Liquid, and Powder Blush
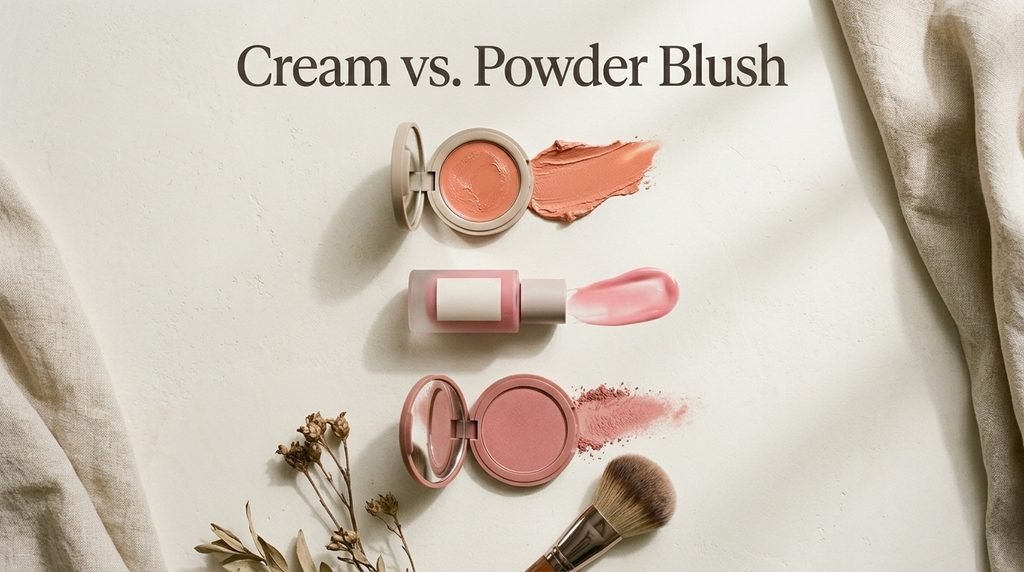
The formula you choose affects how blush blends, how it looks on your skin, and how easy it is to apply.
Cream blush for a dewy, natural finish
Cream blush is popular for its fresh, skin-like appearance. Many cream formulas blend easily with fingertips, a sponge, or a dense brush.
Cream blush can be particularly appealing if you prefer minimal makeup or a softly radiant finish. However, formulas vary, and some cream products set more firmly than others.
How to apply cream blush:
- Pick up a small amount using clean fingertips or a brush.
- Tap the product onto the upper part of your cheeks.
- Blend the edges with gentle tapping motions.
- Add another thin layer if you want more color.
- Avoid rubbing aggressively, especially over a lightweight foundation.
Liquid blush for a lightweight wash of color
Liquid blush often provides concentrated pigment in a fluid formula. A small amount can be enough for both cheeks, depending on the product.
Dispense a tiny dot onto the back of your hand or a palette rather than placing a large amount directly onto your face. Pick up the product with a brush or sponge and blend one cheek at a time.
Liquid blush is useful when you want a subtle flush or a more noticeable pop of color. Since some formulas dry quickly, work in small sections and blend promptly.
Powder blush for a soft, controlled finish
Powder blush can create a soft-focus effect and is easy to layer over a compatible powder-set base. It is also convenient for touch-ups throughout the day.
Use a fluffy blush brush, tap away excess powder, and apply the color in light layers. This helps prevent harsh patches or concentrated stripes of pigment.
Powder blush can work on many skin types. If your skin is dry or textured, apply it over a well-prepared base and avoid using too much powder underneath.
Which formula should you choose?
| Formula | Best for | Application tip |
|---|---|---|
| Cream | A fresh, skin-like finish | Tap and blend gently |
| Liquid | Lightweight color or stronger pigment | Start with a tiny amount |
| Powder | Soft definition and convenient touch-ups | Use a fluffy brush |
| Satin or luminous | A subtle glow | Check the shimmer level in daylight |
| Matte | A velvety, non-shimmery look | Blend the edges carefully |
You can combine formulas, too. For example, a cream blush topped with a small amount of coordinating powder blush can create extra dimension and may improve wear on some skin types.
4. How to Apply Blush Step by Step
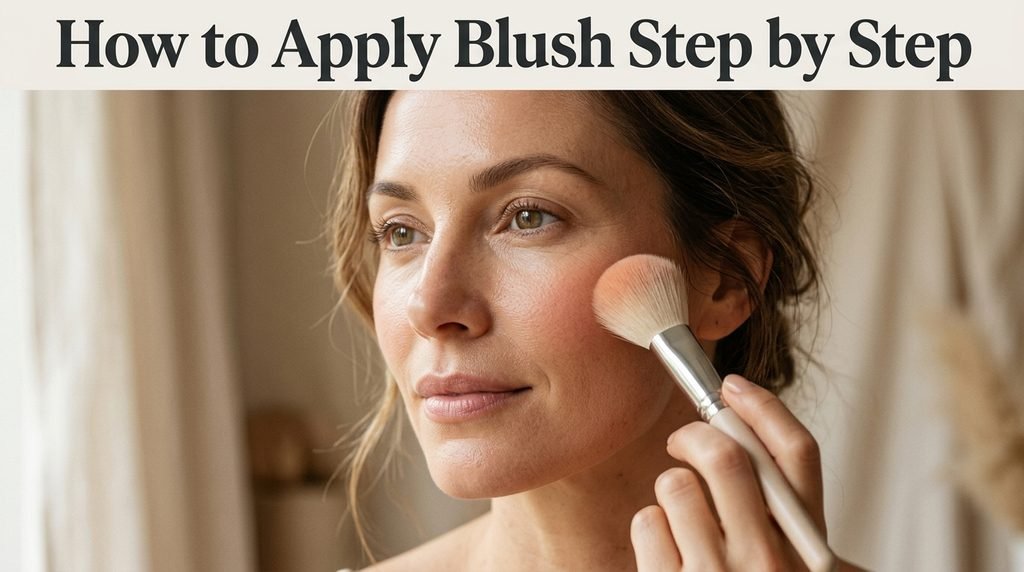
Once you have chosen your shade and formula, the application itself becomes much easier. The most reliable technique is to begin with less product than you think you need.
Step 1: Find the natural cheek area
Relax your face and look straight into a mirror. The rounded area that becomes prominent when you smile can help you locate the apples of your cheeks.
You can apply blush directly to this area for a youthful, rounded effect. For a more lifted look, place most of the color slightly higher and farther outward.
You do not need to smile dramatically while applying blush. A relaxed expression often makes it easier to see where the color will sit when your face returns to its natural position.
Step 2: Pick up a small amount of product
For powder blush, lightly sweep a fluffy brush over the product. For cream or liquid blush, start with a tiny amount on your fingertip, sponge, or brush.
If you are using a strongly pigmented formula, remove excess product before touching your face.
Step 3: Place the color strategically
For a classic everyday look, begin around the upper apples of the cheeks and blend toward the outer cheekbone.
For a lifted effect, concentrate the color slightly higher, starting on the outer apple area and blending diagonally toward the temples. Keep the strongest pigment on the cheek rather than carrying it too close to the hairline.
For a soft, rounded look, keep the blush more centered on the cheeks and blend the edges into the surrounding skin.
Step 4: Blend until the edges disappear
Use small circular motions, soft sweeping movements, or gentle tapping depending on your formula and tool.
The goal is to avoid a clearly defined patch of color. Your blush should fade gradually into your foundation or natural skin.
If you notice a harsh edge, use a clean brush or the remaining product on your makeup sponge to soften it. You can also gently blend the perimeter with a little foundation left on a sponge.
Step 5: Build the intensity gradually
Look at your makeup in natural light if possible. If the color appears too subtle, add another thin layer.
This approach gives you more control than applying a heavy amount at the beginning and trying to remove the excess afterward.
Step 6: Balance the rest of your makeup
Check how your blush looks with your bronzer, contour, highlighter, and lip color.
If you are using bronzer, blend it without allowing it to muddy the blush. Apply highlighter only where you want extra light reflection, such as the tops of the cheekbones.
A natural makeup look does not require every product to be highly visible. Sometimes a little blush, groomed brows, mascara, and a comfortable lip color are enough.
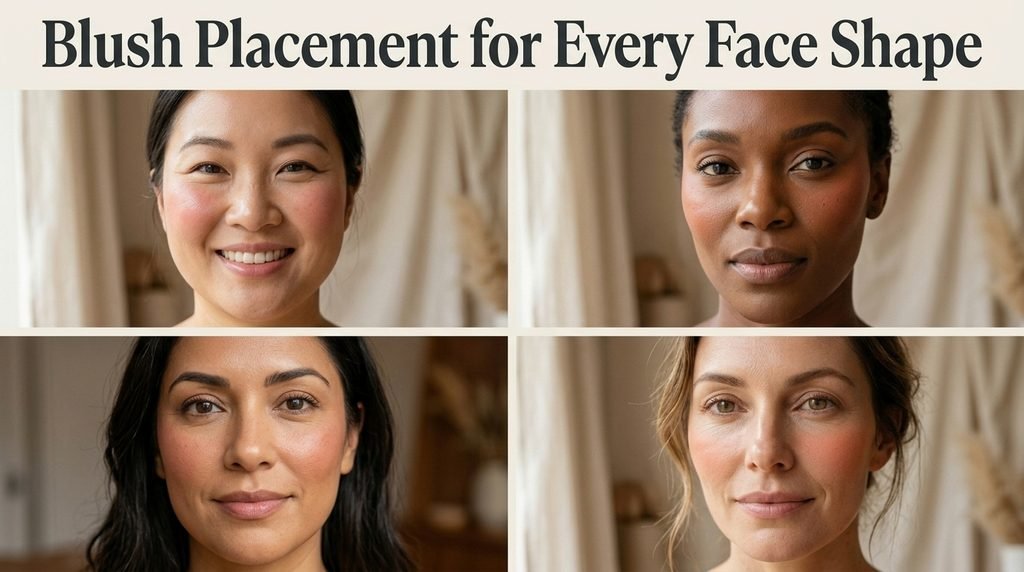
5. Best Blush Placement for Different Face Shapes
Face shape can help guide blush placement, but it should not dictate a single correct technique. You can adjust the position according to your preferences and the effect you want.
Round face
For a more elongated appearance, place blush slightly above the fullest part of the cheeks and blend outward toward the temples.
Avoid concentrating all the color in one small circle if you want a lifted effect. A softly angled shape can create more visual definition.
If you prefer a cute, rounded finish, however, applying blush directly to the apples can look equally beautiful.
Oval face
Oval faces can usually accommodate a variety of placements. Start on the apples and blend toward the cheekbones for a balanced result.
You can keep the color centered for a soft, fresh appearance or move it slightly outward for a more sculpted finish.
Square face
For a soft, balanced appearance, apply blush to the cheeks and blend the edges outward. Rounded placement can create a gentle contrast with more angular facial features.
Keep the blending seamless and adjust the intensity to suit your preferred makeup style.
Heart-shaped face
Heart-shaped faces may benefit from a softly diffused blush placed on the upper apples and blended outward. This can create a harmonious connection between the cheeks and temples.
Avoid concentrating too much pigment in a narrow strip near the hairline unless that is the look you want.
Long face
For a balanced, softly rounded effect, try placing blush more horizontally across the apples of the cheeks, blending gently outward rather than strongly upward.
This creates a different visual effect from a highly angled placement. Experiment with the position that feels most natural on your features.
Remember: Face-shape advice is a styling guide, not a rulebook. Your preferred makeup style, eye placement, cheekbones, and personal taste all matter.
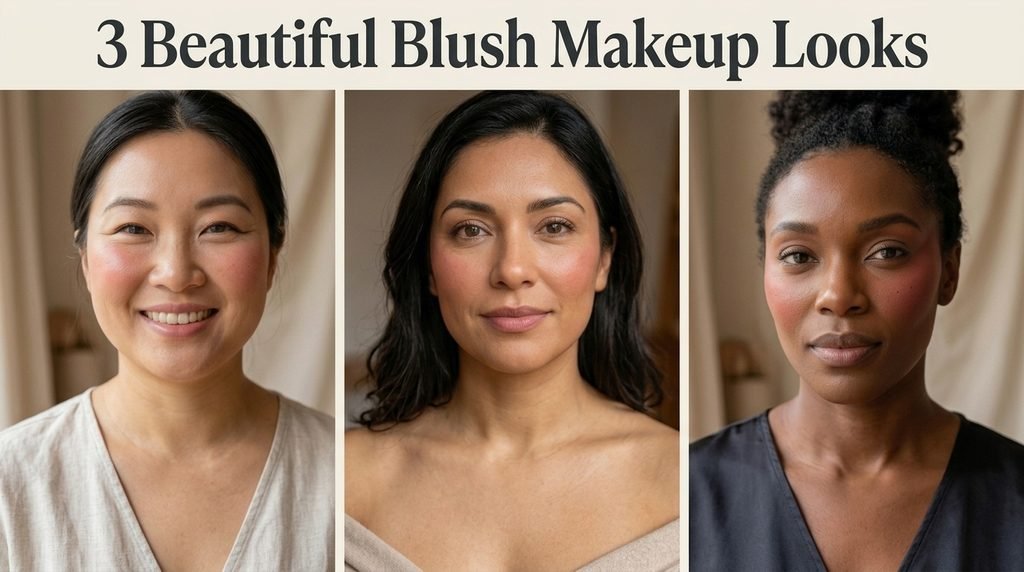
6. How to Apply Blush for Different Makeup Looks
One blush shade can create several different results depending on the placement, intensity, and finish.
The natural everyday look
Choose a soft peach, rose, or pink shade that complements your complexion. Apply a thin layer to the cheeks and blend the edges until the color looks diffused.
Pair it with natural-looking foundation, groomed brows, mascara, and a sheer lip tint. A cream or satin-finish blush can complement this style, although powder formulas work beautifully too.
The lifted blush look
Place the main concentration of color slightly above the apples and blend diagonally outward toward the temples.
Avoid extending the color too far upward or too close to the eyes. The transition should remain soft, with the strongest color on the cheekbone area.
This technique works particularly well with a restrained eye look and a softly defined lip.
The sun-kissed blush look
Choose a peach, coral, warm pink, or terracotta shade. Apply a little color across the upper cheeks and blend gently toward the bridge of the nose if you want a connected, sun-kissed effect.
Keep the application light so the result resembles a soft warmth rather than an obvious stripe. This look pairs well with bronzer, but you do not need bronzer to create it.
The romantic pink look
Try a cool pink, rose, or muted berry shade. Keep the blush softly rounded or blend it outward for a more elegant finish.
A pink lip tint and subtle eye makeup can complete the look without competing with the cheeks.
The evening makeup look
For evening events, you can choose a richer rose, plum, berry, or coral shade. Build the intensity gradually and check your makeup under lighting similar to the setting where you will wear it.
A slightly more noticeable blush can balance defined eyeliner, deeper lipstick, or a softly smoky eye. The aim is coordination rather than making every feature equally intense.
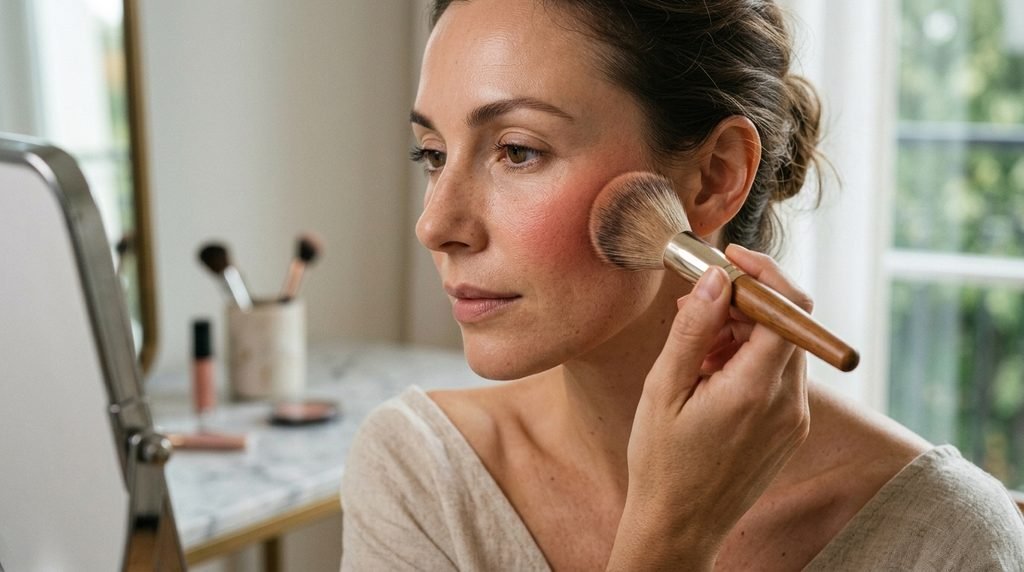
7. Common Blush Mistakes and How to Fix Them
Even a simple makeup product can be tricky when the formula, placement, or amount is not quite right. Fortunately, most blush mistakes can be corrected without removing your entire makeup look.
Applying too much blush
Highly pigmented blush can look much stronger on the skin than it does in its packaging.
How to fix it: Use a clean brush to diffuse the edges. If the color is still too intense, gently press a small amount of your foundation or complexion product over the blush to soften it. Avoid adding more powder automatically, since extra layers can make the finish look heavy.
Placing blush too low
Blush concentrated well below the cheekbones can create a different effect from the lifted look many people want.
How to fix it: Blend the upper edge upward and outward with a clean brush. If necessary, add a small amount of blush higher on the cheek and blend the two areas together.
Choosing a shade without testing it
A color that looks beautiful in the compact may appear different on your skin, especially under warm indoor lighting.
How to fix it: Test a small amount and check it in natural light. Consider whether the color works with your complexion and other makeup rather than judging it from the packaging alone.
Blending cream blush over a powdery base
Cream or liquid blush can sometimes disturb a heavily powdered base, creating uneven patches.
How to fix it: Apply cream blush before setting your complexion with powder when the product instructions and formula allow it. If you prefer applying it later, use gentle tapping rather than dragging the product across the skin.
Using a dirty brush
Old makeup residue, oils, and powder buildup can affect how evenly your blush applies.
How to fix it: Clean your brushes regularly with a suitable brush cleanser or gentle washing method, then allow them to dry completely before use.
Applying too much shimmer
Some luminous blush formulas contain visible shimmer that may be more noticeable than expected.
How to fix it: Choose a satin or matte formula if you prefer a more understated finish. If you already have shimmer on your cheeks, avoid adding more highlighter until you have assessed the overall effect.
Ignoring the rest of your makeup
A blush color can look disconnected if its intensity or undertone clashes with the rest of the look.
How to fix it: Coordinate the warmth and depth of your cheek color with your lipstick, bronzer, and eye makeup. The shades do not have to match exactly, but they should work together.
8. How to Make Your Blush Last Longer
Blush longevity depends on the formula, your skin type, the climate, your skincare products, and how you layer your makeup. These practical tips can help your color remain more consistent throughout the day.
Start with a compatible base
Apply skincare and foundation in thin layers and give them time to settle. Too much slippery skincare underneath makeup may cause some blush formulas to move more easily.
Layer strategically
If your skin and preferred formula tolerate layering, apply a cream blush first and lightly layer a coordinating powder blush over it.
Use small amounts. Heavy layering can make the complexion look cakey rather than helping the color last.
Set only where needed
If your skin becomes oily, a light dusting of translucent powder around the areas that tend to shine may help your makeup look fresher.
You do not necessarily need to powder every part of the face, especially if you prefer a dewy finish.
Choose the right formula for your routine
Powder blush can be convenient for quick touch-ups. Some cream and liquid blushes also wear well, particularly when they set comfortably on your skin.
Read the product directions and test wear time during an ordinary day before relying on a formula for an important event.
Avoid unnecessary touching
Frequent rubbing or touching can disturb makeup. If you need a refresh, gently blot excess oil first and apply a small amount of blush only where the color has faded.
Carry out a wear test
If you are preparing for a wedding, party, or long workday, test your blush in advance. Notice how it behaves after several hours and whether it becomes patchy, fades evenly, or needs a light touch-up.
There is no single formula that lasts equally well on every person, so your own experience is useful when choosing a favorite.
9. Choosing the Right Blush Brush and Tools
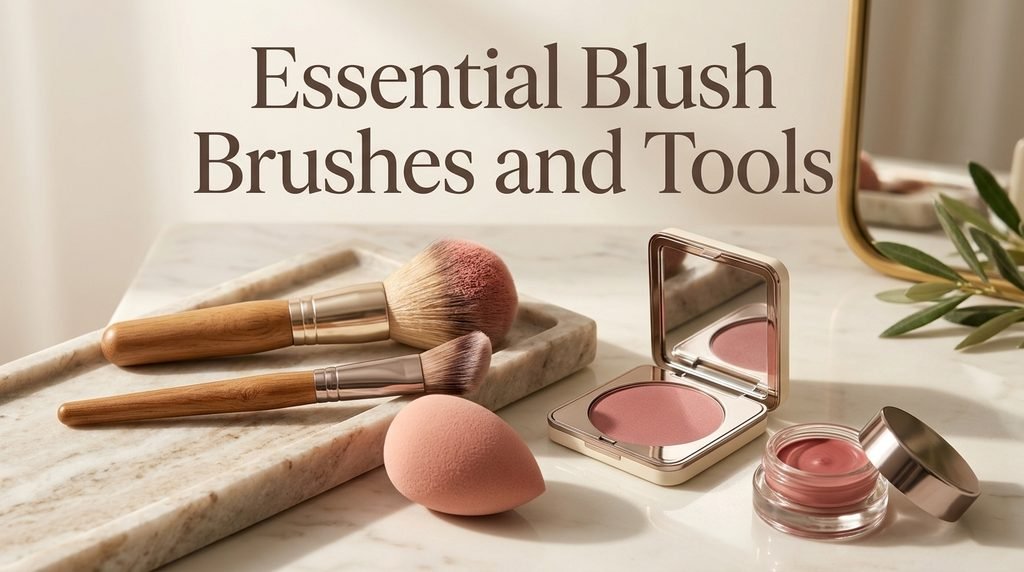
The right tool can make blush application easier and more consistent.
Fluffy blush brush
A fluffy brush is excellent for powder blush because it distributes color gradually and makes it easier to create soft edges.
Use a lighter hand for sheer application and build the color in layers.
Angled blush brush
An angled brush can help you follow the cheekbones when creating a lifted or more sculpted effect.
Keep the pressure light and blend the edges after placing the color.
Dense brush
A dense brush can work well with many cream and liquid formulas, particularly when you want a controlled application. Check that the brush does not lift your foundation as you blend.
Makeup sponge
A slightly damp makeup sponge can help diffuse cream or liquid blush. Use gentle tapping motions rather than rubbing.
A sponge can also help soften blush that appears too intense, especially when it has a small amount of foundation remaining on its surface.
Fingertips
Clean fingertips can work well for many cream blush formulas. The warmth and pressure of your fingers can help distribute the product, although the best technique depends on the formula.
Whichever tool you choose, clean it regularly and avoid sharing makeup applicators without proper sanitation.
10. Simple Blush Tips for Beginners
If you are new to blush, focus on a few techniques rather than trying every trend at once.
- Start with a shade that feels close to your natural cheek color when you become flushed.
- Choose a formula that is easy for you to blend.
- Apply a small amount to one cheek before repeating the same technique on the other.
- Check both sides of your face from a short distance to compare placement and intensity.
- Blend the edges before deciding whether you need more color.
- Test your makeup in daylight whenever possible.
- Remember that blush does not need to be perfectly symmetrical to look beautiful.
- Adjust the placement to your preferred look instead of following every viral technique.
For an easy beginner routine, apply your base, tap a small amount of blush onto the upper apples of your cheeks, and blend toward the outer cheekbones. Add another light layer only if you want more intensity.
This simple method provides a useful starting point before experimenting with more sculpted or editorial placements.
Frequently Asked Questions About Applying Blush
Should blush go before or after foundation?
For most traditional makeup routines, apply blush after foundation. Cream and liquid blush are often easiest to blend before powder setting, while powder blush is usually applied over a suitably set base. Product formulas can vary, so follow the instructions for your particular products.
Is cream blush better than powder blush?
Neither is universally better. Cream blush often creates a fresh, skin-like finish, while powder blush offers a soft, buildable effect and convenient touch-ups. Your skin type, preferred finish, climate, and application habits can help you decide.
Where should beginners apply blush?
A simple starting point is the upper apples of the cheeks, blended gently toward the cheekbones. Use a small amount and adjust the placement until it suits your features.
Can you wear blush without foundation?
Yes. Blush can be applied directly to bare skin. For a more natural result, choose a formula that blends comfortably over your skincare and use a light hand.
How much blush should you use?
Begin with a small amount and build the intensity gradually. The ideal amount depends on your skin tone, product pigmentation, lighting, and preferred makeup style.
How do you make blush look natural?
Choose a flattering shade, apply a thin layer, and blend the edges until there are no obvious lines. Checking the result in natural light can help you avoid applying more product than necessary.
Can you mix cream and powder blush?
Yes. Many people apply cream blush first and add a light layer of coordinating powder blush for extra depth or wear. Use compatible formulas and thin layers to avoid a heavy finish.
Conclusion
Learning how to apply blush is less about following strict makeup rules and more about understanding your complexion, choosing the right formula, and blending with a light hand. The right shade can brighten your makeup, complement your natural coloring, and help create anything from an effortless daytime look to a sophisticated evening finish.
Start by preparing your skin, selecting a flattering color, and applying a small amount to the cheeks. Experiment with classic, rounded, or lifted placement, and adjust the technique to suit your features and personal style.
Most importantly, give yourself room to experiment. A beautiful blush look does not need to be complicated, expensive, or perfectly symmetrical. With the right shade and a little practice, blush can become one of the easiest and most versatile steps in your everyday makeup routine.