
INTRODUCTION
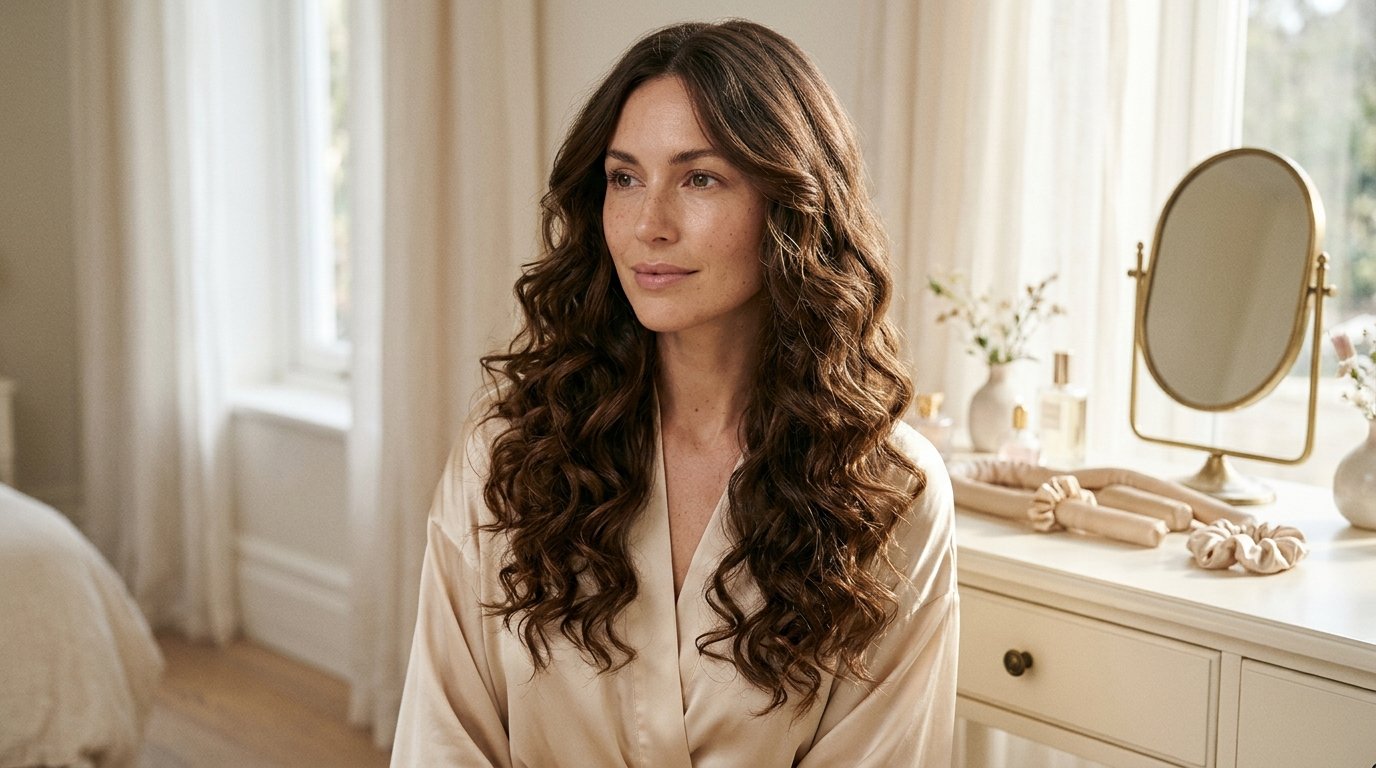
Beautiful, bouncy curls do not always require a curling iron or a complicated styling routine. If you want soft, voluminous waves without using hot styling tools, learning how to get heatless curls overnight can make your morning beauty routine much easier.
Heatless curls are created by wrapping, twisting, braiding, or pinning hair into a shape and allowing it to dry in that position. Depending on your hair type, length, and the method you choose, you can create loose beachy waves, polished blowout-style curls, or more defined curls with minimal effort.
The secret is not simply choosing a popular curling ribbon. Preparing your hair correctly, using the right amount of styling product, selecting comfortable tools, and allowing your hair to dry completely all help improve the result.
In this guide, you will discover seven simple steps for creating heatless curls overnight, the best methods for different hair types, common mistakes to avoid, and practical ways to help your curls last throughout the day.
Whether you have long, straight, fine, thick, or naturally wavy hair, these tips will help you find a heatless styling routine that suits your needs.
Table of Contents
- What Are Heatless Curls?
- Benefits of Heatless Curls Overnight
- What You Need to Create Heatless Curls
- How to Get Heatless Curls Overnight in 7 Easy Steps
- Best Heatless Curl Methods for Different Hair Types
- How to Make Heatless Curls Last Longer
- Common Heatless Curl Mistakes to Avoid
- Easy Heatless Curl Hairstyles to Try
- Frequently Asked Questions
- Final Thoughts
1. What Are Heatless Curls?
Heatless curls are curls or waves created without heated styling tools such as curling irons, straighteners, or heated rollers.
Instead of using high temperatures to reshape your hair temporarily, you use a soft curling rod, fabric ribbon, braids, twists, or other suitable tools to hold your hair in a desired shape while it dries.
Once your hair is completely dry, you remove the tool and gently separate the curls to reveal the finished style.
The final result depends on several factors, including your natural hair texture, the size of each section, how tightly you wrap your hair, and how well your hair holds a set.
For example, a thick satin curling rod can help create larger, softer curls, while smaller twists or braids generally produce tighter bends or more textured waves.
Heatless styling can be particularly appealing if you want to reduce your reliance on heated tools. However, it is not a guarantee of damage-free hair. Tight wrapping, pulling, rough handling, and sleeping uncomfortably can still cause breakage or tension.
2. Benefits of Heatless Curls Overnight
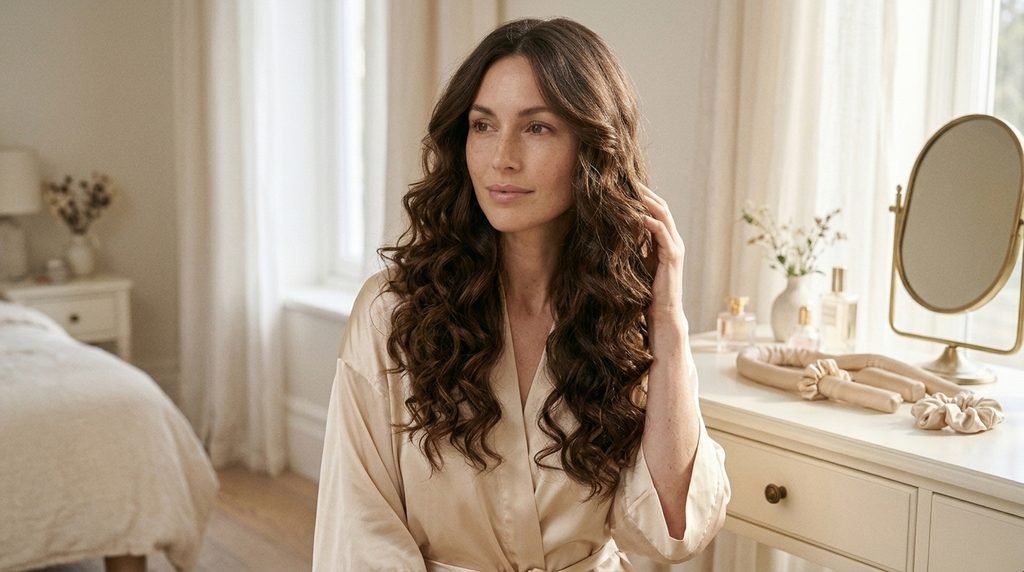
Heatless curls offer a convenient way to experiment with different hairstyles without making a hot styling tool part of your everyday routine.
Less reliance on heated styling tools
Frequent heat styling can contribute to dryness, roughness, and hair breakage, particularly when high temperatures are combined with repeated passes or inadequate heat protection.
Heatless styling removes the need for direct heat during the curling process. It can be a useful alternative for people who regularly curl their hair and want to vary their routine.
It does not repair existing damage, but reducing heat exposure may help limit one source of additional stress on the hair.
A simpler morning routine
One of the biggest advantages is that most of the styling happens before bed.
You can prepare your hair in the evening, secure it using your preferred method, and release the curls in the morning once everything is completely dry.
This can save time on busy mornings, although your first few attempts may take longer while you learn the technique.
Different styles with simple tools
You do not necessarily need an expensive heatless curling set.
A soft fabric ribbon, a suitable robe tie, loose braids, or small twists can create different wave patterns. The best option depends on the look you want and the length and texture of your hair.
A versatile option for different occasions
Soft heatless waves can work for everyday outfits, office looks, dinners, weddings, and special occasions.
You can keep the curls defined for a polished appearance or gently separate them for a relaxed, effortless finish.
Potentially less heat-related stress on the ends
Hair ends are older than the strands closer to the scalp and may already have experienced considerable styling and environmental exposure.
Replacing some heated curling sessions with gentle heatless methods can help reduce repeated thermal exposure. Use soft accessories and avoid pulling the ends tightly around a rod.
Remember that the gentlest method is one that holds your hair comfortably without excessive tension.
3. What You Need to Create Heatless Curls
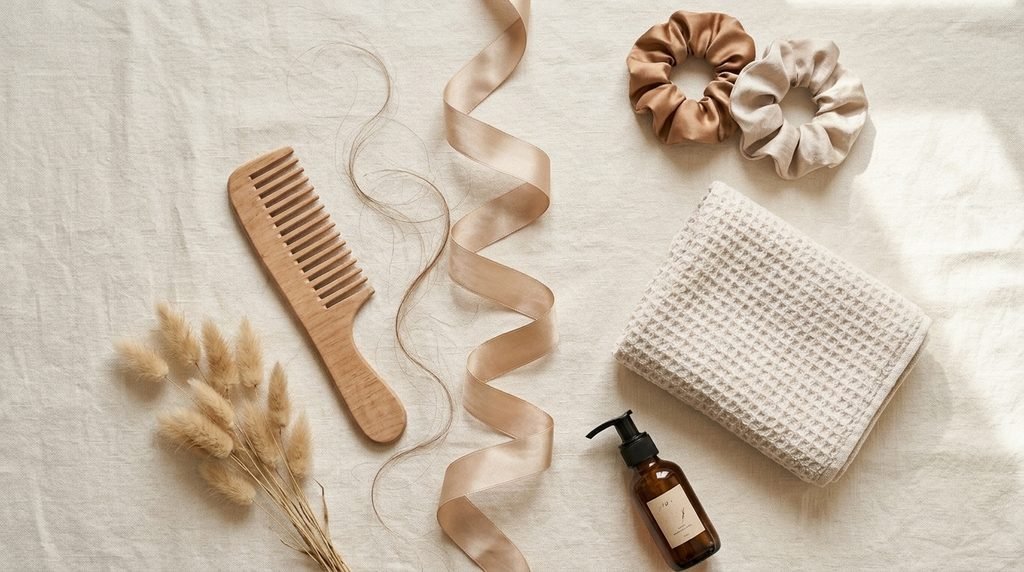
You can create attractive overnight curls with a few basic haircare items. Start with what you already own before investing in a complete styling kit.
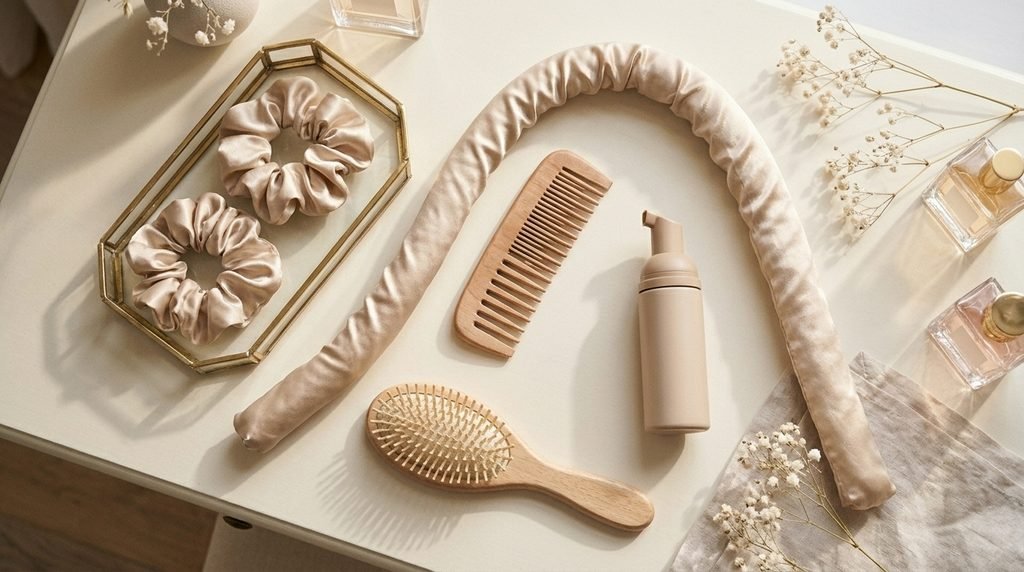
A heatless curling rod or soft fabric ribbon
A padded curling rod is a popular option for creating loose, polished curls.
Choose a rod that is long enough for your hair and soft enough to rest comfortably against your head. Satin-covered options can make the wrapping process feel smoother and may reduce friction compared with some rougher fabrics.
If you do not have a curling rod, you can try a soft robe tie or use braids and twists.
A gentle detangling brush or wide-tooth comb
Detangle your hair before wrapping it. Knots can become tighter during styling and make the curls harder to release.
Start at the ends and work upward rather than pulling a brush from the roots through tangled lengths.
Soft scrunchies
Satin or other smooth fabric scrunchies can secure the ends of your wrapped hair without the hard edges of some conventional elastics.
Avoid fastening them so tightly that they leave deep dents or pull on your hair.
A lightweight styling product
A small amount of mousse, setting lotion, or another suitable styling product can help some hair types retain their shape.
Fine hair may respond better to a lightweight formula, while thicker or coarser hair may benefit from a product that provides more flexible hold.
Follow the product instructions and avoid layering several heavy products together.
A satin pillowcase or comfortable bonnet
A satin pillowcase or a properly fitted bonnet may reduce friction between your hair and bedding.
Choose an option that feels comfortable, stays in place, and does not pull at your hairline. Avoid sleeping with any accessory that causes pressure, headaches, or discomfort.
4. How to Get Heatless Curls Overnight in 7 Easy Steps
Follow these seven steps to create soft curls while you sleep. The satin-rod method is a useful starting point for medium-length and long hair, but you can adapt the technique to suit your own texture.
Step 1: Start with clean, detangled hair
Begin with hair that is clean or reasonably fresh and free from excessive product buildup.
You do not need to wash your hair every time you want to create heatless curls. If your hair is already clean, you can simply refresh it as needed.
Gently detangle your lengths with a suitable brush or comb. Remove knots before you begin wrapping, paying particular attention to the nape of your neck and the ends.
If your hair tangles easily, apply a small amount of lightweight detangling product where needed.
Avoid brushing textured or naturally curly hair aggressively when dry if doing so disrupts your natural curl pattern. Instead, use a detangling approach suited to your texture.
Step 2: Make sure your hair is mostly dry
This is one of the most important steps in the entire process.
Hair that is soaking wet may remain damp inside a tight wrap for hours. Releasing it before it dries can result in weak curls, uneven waves, or a style that falls quickly.
For many people, starting with hair that is approximately 80–90% dry is a useful guideline. This is not a universal requirement: fine hair, thick hair, and naturally textured hair can behave differently.
Your hair should feel only slightly cool or damp, rather than wet enough to transfer water to your hands.
If your hair is completely dry, you can lightly mist selected sections with water. Apply only enough moisture to make the hair flexible, and allow extra drying time when needed.
Do not wrap hair tightly while the roots or inner sections are still very wet.
Step 3: Apply a small amount of styling product
If your hair struggles to hold curls, a lightweight styling product may help.
A flexible-hold mousse or setting lotion can provide grip without making the hair feel excessively stiff. Start with a small amount and distribute it evenly through the lengths according to the product directions.
For fine hair, using too much product can weigh down the finished style. Thicker hair may tolerate a little more, but more product does not automatically mean longer-lasting curls.
If you already have a leave-in conditioner in your routine, consider whether you actually need an additional product.
Avoid applying heavy oils or rich creams throughout the hair immediately before wrapping if they tend to make your curls fall flat.
Step 4: Position the curling rod
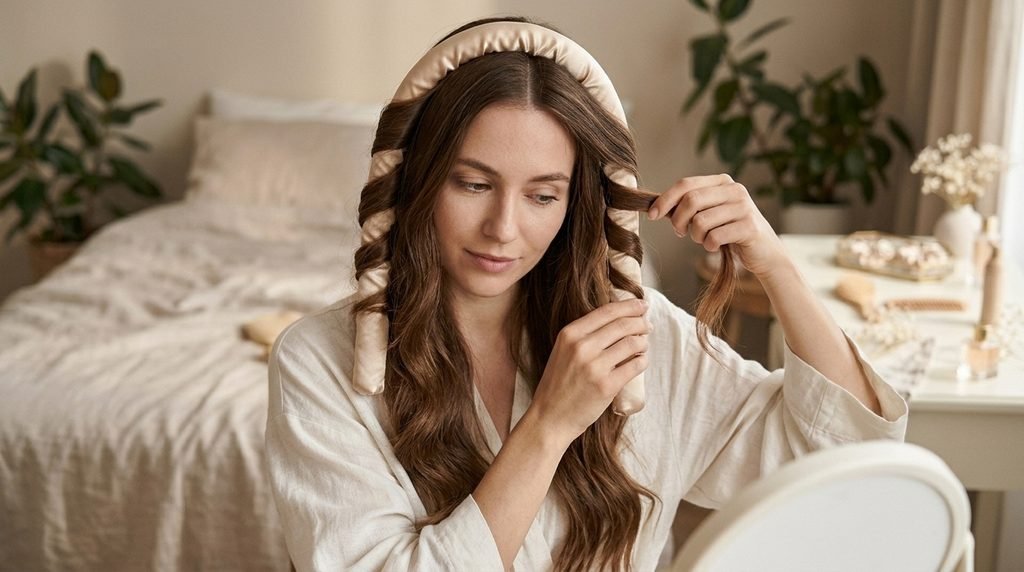
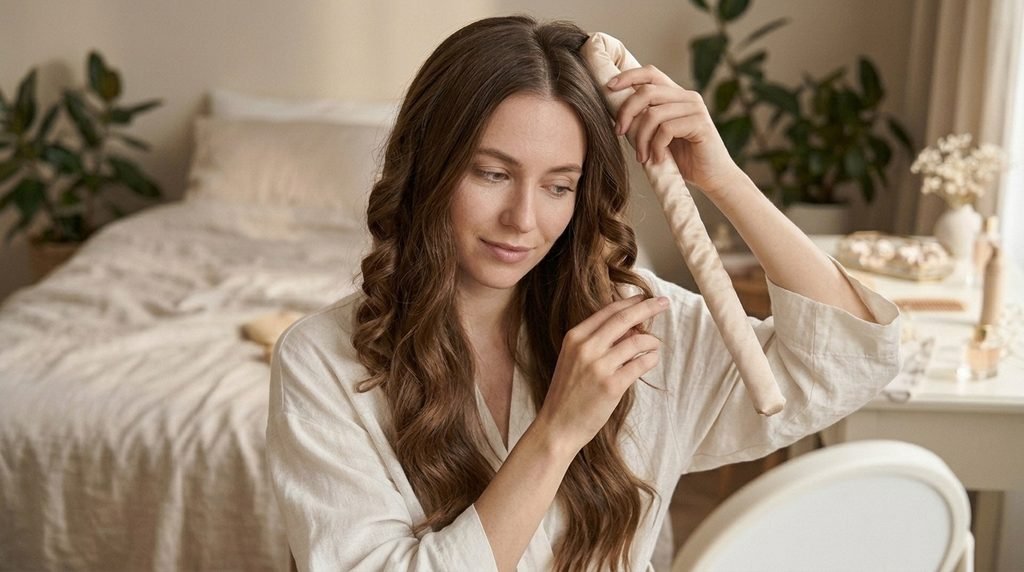
Create your usual parting and place the soft curling rod across the top of your head, positioning it so that both sides of your hair can wrap comfortably around it.
Use a gentle clip to hold the middle in place if your kit includes one.
Make sure the rod does not pull at your roots or press uncomfortably against your scalp.
For very long or thick hair, two smaller rods or a different wrapping method may be easier to manage than forcing all your hair around one rod.
Step 5: Wrap your hair in manageable sections
Start with a small section near the front of one side of your head.
Wrap it around the rod, keeping the section smooth and distributing the hair evenly. Add another small section as you continue down the side, similar to gradually incorporating hair into a loose braid.
Many people prefer wrapping the front sections away from the face for an open, face-framing finish.
Keep the tension consistent but gentle. The hair should sit securely around the rod without feeling pulled.
Continue wrapping until you reach the ends, then secure them with a soft scrunchie.
Repeat the process on the other side.
Smaller sections generally create more defined curls, while larger sections usually produce a looser, softer wave. Experiment with section sizes to discover what works best for your hair.
Step 6: Secure your hair and sleep comfortably
After wrapping both sides, check that the ends are secure and the rod is sitting comfortably.
If you prefer extra protection, use a satin pillowcase or a suitable bonnet to help reduce friction while sleeping.
Avoid wrapping your hair so tightly that it pulls on the hairline or creates pressure at the scalp.
Your hair should be secure enough to maintain its shape but loose enough to feel comfortable. If the rod repeatedly slips, adjust the placement or try a different wrapping technique rather than tightening everything excessively.
Allow enough time for your hair to dry completely. Overnight styling is convenient, but you do not need to force yourself to keep an uncomfortable tool in place all night.
Step 7: Unwrap gently and shape your curls
In the morning, check that your hair is completely dry before removing the rod.
If the hair still feels damp inside the wrap, allow it to dry further before releasing it.
Remove the scrunchies and unwind each section slowly. Avoid pulling the rod straight through your hair, as this can create tangles and disrupt the curl pattern.
Once the rod is removed, let the curls settle briefly.
Separate them gently with your fingers if you want a natural, soft finish. For a fuller appearance, lift the roots lightly and arrange the front sections around your face.
If you want more defined curls, avoid immediately brushing through the entire style.
Finish with a light-hold hairspray if desired, using a product suitable for your hair and the level of hold you pre
5. Best Heatless Curl Methods for Different Hair Types
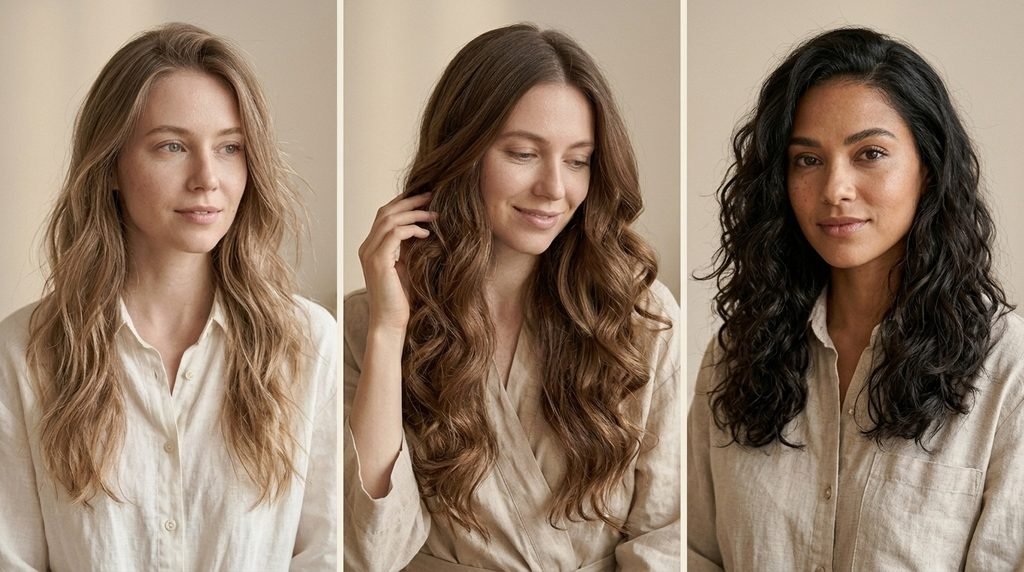
Not every method produces the same result. Your natural texture, length, density, and preferred hairstyle can help you choose the most suitable technique.
Heatless curls for fine hair
Fine hair can lose volume when exposed to heavy products or oversized styling sections.
For a lightweight finish:
- Start with hair that is almost completely dry.
- Use only a small amount of lightweight mousse if needed.
- Choose manageable sections so the curl forms evenly.
- Avoid rich creams and heavy finishing oils.
- Let the curls cool and settle before separating them.
A satin rod can create soft, voluminous waves, but smaller twists or pin curls may work better if your hair does not wrap comfortably around a larger rod.
If your curls tend to fall quickly, try a slightly more defined initial curl pattern rather than using increasingly large amounts of product.
Heatless curls for thick hair
Thick hair may need more time to dry and more space to wrap comfortably.
Try dividing your hair into smaller sections. If your hair is very long or dense, two rods may distribute the weight more evenly than a single rod.
Use enough time for the inner sections to dry, and check that the ends are secured properly.
Avoid creating very bulky wraps that press against your scalp or make sleeping difficult.
Heatless curls for long hair
Long hair works well with satin rods, fabric ribbons, and braids because the lengths provide enough material to create a defined wave pattern.
However, very long hair can become heavy when wrapped around one thick tool.
To make the process easier, start near the front, add sections gradually, and guide the ends around the rod without leaving them loose.
If the ends repeatedly slip out, try smaller sections or a longer curling rod.
Heatless curls for short hair
Short hair may not have enough length to wrap around a full-sized curling rod.
Instead, consider small twists, pin curls, or a narrow fabric ribbon designed for shorter lengths.
Concentrate on the sections that can comfortably hold a bend, especially around the front and sides.
A shorter hairstyle may produce subtle bends rather than full spirals, which can still create attractive texture and movement.
Heatless curls for naturally wavy or curly hair
If your hair already has a natural wave or curl pattern, you may prefer a method that enhances your texture instead of stretching it.
Try a few loose twists or a soft braid to reorganize your waves overnight.
Use a suitable leave-in conditioner or styling product if it is already part of your routine. Avoid excessive brushing after removing the set, especially if your hair tends to become frizzy.
The goal is to encourage a shape that works with your natural texture rather than forcing your hair into a completely different pattern.
Heatless curls for straight hair
Straight hair can sometimes lose its curls quickly, particularly in humid conditions.
Try starting with mostly dry hair and using a small amount of flexible-hold styling product.
Wrap the hair evenly, choose a section size that creates enough definition, and allow the style to set completely before releasing it.
If your hair falls flat after an hour, experiment with the wrapping technique, product amount, and curl size one at a time. Results will vary depending on your natural hair characteristics.
6. How to Make Heatless Curls Last Longer
If your curls look beautiful when you first remove the rod but gradually lose their shape, a few adjustments may help.
Choose the right amount of moisture
Hair needs enough flexibility to take the shape of the curling tool, but too much water can prevent the set from drying in time.
Start with mostly dry hair and adjust based on your results.
If your curls look flat and feel damp when released, try starting with drier hair next time.
Avoid heavy styling products
Excessive product can make hair feel coated or cause the curls to lose their bounce.
Start with a lightweight formula and use the smallest amount that gives you a satisfactory result.
You can always adjust your routine gradually instead of layering mousse, cream, oil, and hairspray all at once.
Allow the curls to settle
After removing the rod, avoid immediately brushing your hair from roots to ends.
Let the curls settle and use your fingers to separate them. If you prefer loose waves, gently loosen the shape rather than pulling the curls apart aggressively.
Consider your environment
Humidity can affect how long many hairstyles last, especially when the hair naturally absorbs moisture from the surrounding air.
A suitable lightweight finishing spray may help manage the style, but no product can guarantee that curls will remain unchanged in every climate.
If your hair becomes frizzy in humid weather, keep the style simple and avoid repeatedly touching it throughout the day.
Protect the style overnight
If you want to preserve the curls for another day, consider sleeping on a satin pillowcase or using a comfortable bonnet.
Avoid tying the hair tightly into a high ponytail, which can flatten the curls and create tension.
The next morning, refresh only the sections that need attention rather than repeating the entire styling routine.
Adjust your curl size
If you want soft waves that last, you may need to create a slightly more defined curl at the beginning.
This does not mean wrapping tightly. It means choosing a tool and section size that produce enough shape for your hair to relax into your preferred finish.
Test different approaches and take note of which one works best.
7. Common Heatless Curl Mistakes to Avoid
Small mistakes can make a noticeable difference in the finished hairstyle. If your heatless curls are not turning out as expected, review these common issues.
Wrapping hair while it is too wet
Very wet hair can take a long time to dry, especially when wrapped in thick sections.
How to improve it: Allow more moisture to evaporate before wrapping. If necessary, leave extra drying time before bed.
Using too much styling product
Heavy layers can make hair feel sticky or reduce natural movement.
How to improve it: Begin with a small amount of product and add only what your hair genuinely needs.
Taking sections that are too large
Oversized sections can be difficult to wrap evenly and may produce inconsistent curls.
How to improve it: Use manageable sections and keep the hair distributed smoothly around the rod.
Pulling the hair too tightly
Excessive tension can cause discomfort and may contribute to breakage or stress around the hairline.
How to improve it: Keep the wrap secure but gentle. If you feel pulling, loosen the section and reposition the tool.
Removing the rod before the hair is dry
Damp hair may not hold the shape you want.
How to improve it: Check the inner sections before unwrapping. Give them additional time to dry if needed.
Brushing the curls too aggressively
Brushing immediately after removing the rod can disrupt the shape and create unwanted frizz.
How to improve it: Use your fingers first. If you want a brushed-out finish, use a suitable brush gently and gradually.
Expecting identical results every time
Your results can change with humidity, washing frequency, product buildup, and the condition of your hair.
How to improve it: Treat the first few attempts as experiments. Adjust one part of your routine at a time so you can identify what helps.
8. Easy Heatless Curl Hairstyles to Try
Once you find a method that works for your hair, you can adapt it to create several different looks.
Soft blowout-style waves
For a polished, salon-inspired finish, use a larger satin curling rod and wrap your hair in smooth, manageable sections.
Once the curls are dry and released, gently separate them with your fingers to create movement.
Keep the front sections soft and away from your face if you prefer an open, lifted appearance.
This style works particularly well with medium-length to long hair, although the result will vary with your natural texture.
Relaxed beachy waves
If you prefer a casual, textured finish, try creating two or more loose braids before bed.
Braids usually produce a different pattern from a curling rod, often creating more uniform bends rather than rounded spirals.
Once your hair is dry, undo the braids and separate the waves gently.
This is a convenient option when you want texture without needing a specialized curling tool.
Defined, romantic curls
For more defined curls, try smaller sections around a suitable soft rod or create individual twists or pin curls.
The smaller the sections, the more defined the resulting pattern may be, although your natural hair texture will influence the outcome.
Allow enough time for every section to dry and release the curls slowly.
Face-framing waves
If you do not want to curl all your hair, focus on the front sections.
Wrap the face-framing pieces around a small soft rod or use gentle twists to encourage a bend.
Leave the rest of your hair natural or style it into a low ponytail or bun.
This creates a subtle change without requiring a full-head styling routine.
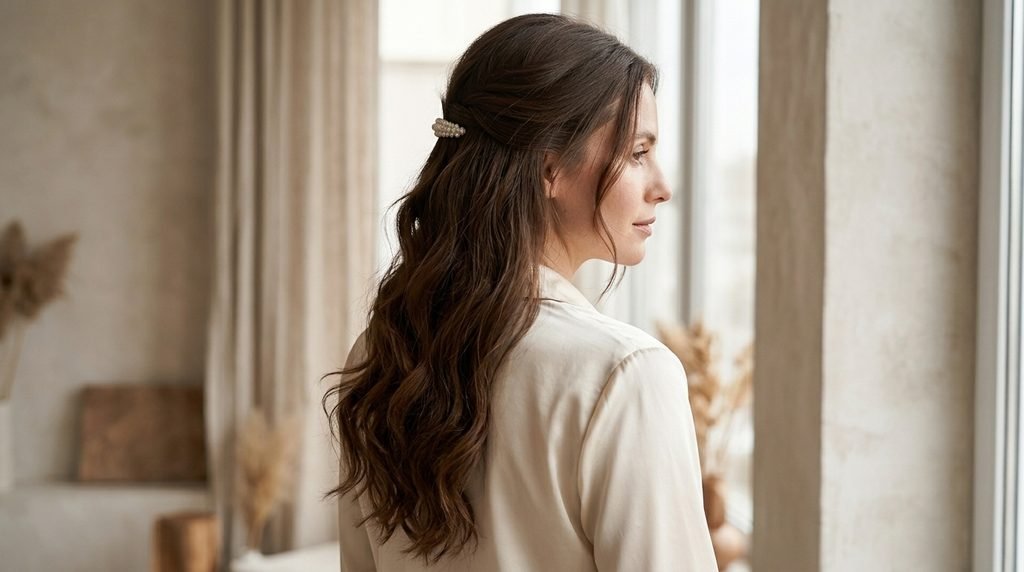
Heatless curls with a half-up hairstyle
Create your curls first, then gather the top section of your hair into a loose half-up style.
Secure it with a fabric scrunchie or a suitable clip that does not pull excessively on the roots.
Allow a few soft curls to frame your face for a romantic, relaxed finish.
This hairstyle can work for casual outings, dinners, and special occasions.
Elegant waves for special occasions
For an event, prepare your hair the evening before and allow the curls to set completely.
In the morning, gently separate the curls and arrange them into the desired shape. A discreet accessory or a small decorative clip can complement the finish.
If you need the hairstyle to last for several hours, test the method before the event rather than relying on a completely new technique on the day.
9. Frequently Asked Questions
1. How long should you leave heatless curls in overnight?
Many people leave heatless curls in place while they sleep, but the exact time depends on how quickly their hair dries and the method they use. The important factor is that the hair should be completely dry before you release it. Comfort also matters, so avoid keeping a tool in place if it causes pain or pulls at your scalp.
2. Do heatless curls work on straight hair?
Yes, heatless curls can work on straight hair, although the results may be softer or less long-lasting than expected. Starting with mostly dry hair, using manageable sections, and applying a small amount of suitable styling product may help. Your natural texture and the surrounding humidity also influence how well the curls hold.
3. Can you do heatless curls without a curling rod?
Yes. Braids, twists, pin curls, and suitable soft fabric ribbons can all create waves or curls without a dedicated curling rod. Each method produces a different pattern, so choose one based on your preferred finish and hair length.
4. Should your hair be wet or dry for overnight curls?
Hair should generally be mostly dry rather than soaking wet when you wrap it. Slightly damp hair may be easier to shape, but the ideal moisture level varies. If your hair is still damp in the morning, allow more drying time or start with drier hair during your next attempt.
5. Are heatless curls better than curling irons?
Heatless curls reduce the need for direct heat during styling, which may help limit heat-related stress on the hair. Curling irons can create more immediate and predictable shapes, while heatless methods require drying time and may produce more variable results. The better choice depends on your routine, desired style, and hair needs.
6. How do you make heatless curls last all day?
Begin with mostly dry hair, use a suitable lightweight styling product if needed, and allow the curls to dry completely before removing the rod. Separate the curls gently and consider a flexible-hold finishing spray. Humidity, natural texture, and daily activity can affect how long the style lasts.
7. Can you do heatless curls on short hair?
Yes, although short hair may not wrap comfortably around a long curling rod. Smaller rods, pin curls, and twists may be more practical. Shorter styles often produce gentle bends or added texture rather than long, flowing curls.
8. Are heatless curls suitable for fine hair?
They can be a useful styling option for fine hair. Use lightweight products sparingly, avoid excessive tension, and start with hair that is nearly dry. A smaller section size or a narrower curling tool may help create a more defined result without weighing the hair down.
9. Can you sleep with heatless curls every night?
You can experiment with overnight styling as part of your routine, but comfort and gentle handling should come first. Tight wrapping, repeated pulling, and friction may contribute to breakage over time. Use a soft tool, keep the tension low, and take a break if your scalp feels sore or your hair begins to break.
10. Why do my heatless curls fall out so quickly?
Possible reasons include hair that was too wet or too dry when wrapped, heavy styling products, sections that were too large, or a curl pattern that is too loose for your hair. Humidity and natural texture can also play a role. Adjust one variable at a time to discover which changes improve your results.
10. Final Thoughts
Learning how to get heatless curls overnight is a simple way to explore beautiful waves without relying on heated styling tools every time you want a new look.
The most important steps are preparing your hair gently, starting with an appropriate moisture level, choosing a comfortable curling method, using styling products sparingly, and allowing your hair to dry completely before releasing the curls.
You do not need a complicated routine or an expensive collection of tools to get started. A satin curling rod, soft scrunchies, and a little practice may be enough to create a style you love.
Experiment with different section sizes and wrapping methods until you find the approach that works with your natural hair texture. With a little patience, you can develop an easy overnight routine that leaves your hair looking soft, defined, and ready for the day.