

Introduction
Concealer can make your makeup look fresh, bright, and beautifully finished, but applying it around dry under-eyes can sometimes feel frustrating. Instead of creating a smooth, natural appearance, the product may cling to dry patches, settle into fine lines, or look cakey after a few hours.
The good news is that achieving a smoother under-eye makeup look does not necessarily require a more expensive concealer. In many cases, the secret lies in preparing the skin properly, choosing a suitable formula, applying less product, and setting it with a light hand.
If you have dry under-eyes, you may have noticed that techniques that work for someone with oily skin do not always work for you. Applying a thick layer of concealer, using too much powder, or repeatedly blending the same area can emphasize texture rather than conceal it.
Learning how to make concealer look smooth on dry under-eyes starts with understanding what your skin needs before makeup even touches your face.
In this guide, you will discover how to prepare your under-eye area, choose the right concealer, prevent creasing and patchiness, apply makeup step by step, and refresh your concealer throughout the day. You will also learn which common mistakes to avoid and how to adapt your technique for different makeup styles.
Whether you prefer a natural everyday look or a more polished full-coverage finish, these practical tips can help you create a softer, more comfortable-looking under-eye result.
Table of Contents
- Why Concealer Looks Dry Under the Eyes
- Prepare Your Under-Eye Skin Before Makeup
- Choose the Right Concealer Formula
- How to Make Concealer Look Smooth on Dry Under-Eyes: Step by Step
- Should You Use Color Corrector?
- How to Set Concealer Without Making It Look Cakey
- Common Concealer Mistakes to Avoid
- How to Keep Under-Eye Concealer Looking Fresh All Day
- Best Makeup Tips for Different Types of Under-Eye Concerns
- Frequently Asked Questions
- Final Thoughts
1. Why Concealer Looks Dry Under the Eyes
Before changing your makeup routine, it helps to understand why concealer sometimes looks uneven or dry.
The skin beneath the eyes is relatively delicate, and its appearance can be affected by dehydration, natural skin texture, facial movement, environmental conditions, and the products used during your routine.
Dryness and Dehydration
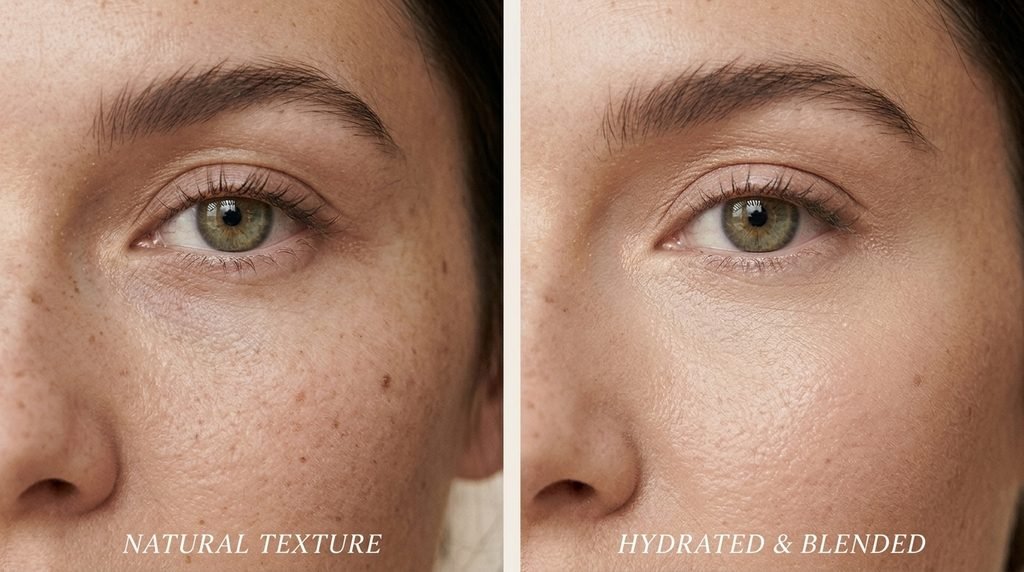
When the under-eye area lacks sufficient moisture, concealer may cling to flaky or rough-looking areas. This can make the product appear uneven, even if the concealer itself has a creamy texture.
Dehydrated skin may also make fine lines temporarily more noticeable. Adding more concealer often does not solve the problem because additional product can emphasize the same texture.
A comfortable skincare routine can help improve how makeup sits on the skin, although moisturizer cannot permanently remove natural lines or texture.
Using Too Much Concealer
One of the most common mistakes is applying a thick layer of concealer in an attempt to cover dark circles completely.
More product does not always mean better coverage. A heavy layer can collect in fine lines as you move your face throughout the day.
A thinner application, concentrated where discoloration is most visible, often creates a more natural finish.
Choosing the Wrong Formula
Some concealers have a very matte, long-wearing finish that may emphasize dry areas. Others have a more flexible, creamy texture that can be easier to blend over dry under-eyes.
Neither finish is automatically better for everyone. Your ideal formula depends on your skin, the coverage you need, your preferred makeup style, and how long you want your makeup to last.
Applying Too Much Powder
Powder can help reduce creasing and improve wear, but excessive powder may make the under-eye area look dry or heavy.
This is especially noticeable when several layers of concealer are combined with a generous amount of setting powder.
The goal is not to eliminate every natural line. It is to create a comfortable, balanced finish that looks smooth without appearing overly powdered.
2. Prepare Your Under-Eye Skin Before Makeup
Good under-eye makeup starts with skincare. When the skin feels comfortable and properly moisturized, concealer may spread more evenly and look less likely to cling to dry patches.
Step 1: Cleanse Gently
Begin with a gentle facial cleanser that removes overnight oil, sweat, and leftover skincare without leaving your skin feeling tight.
Avoid scrubbing the under-eye area or using harsh cleansing techniques. The skin in this area benefits from gentle handling.
If you have already cleansed your face as part of your morning routine, you may not need to cleanse again immediately before makeup.
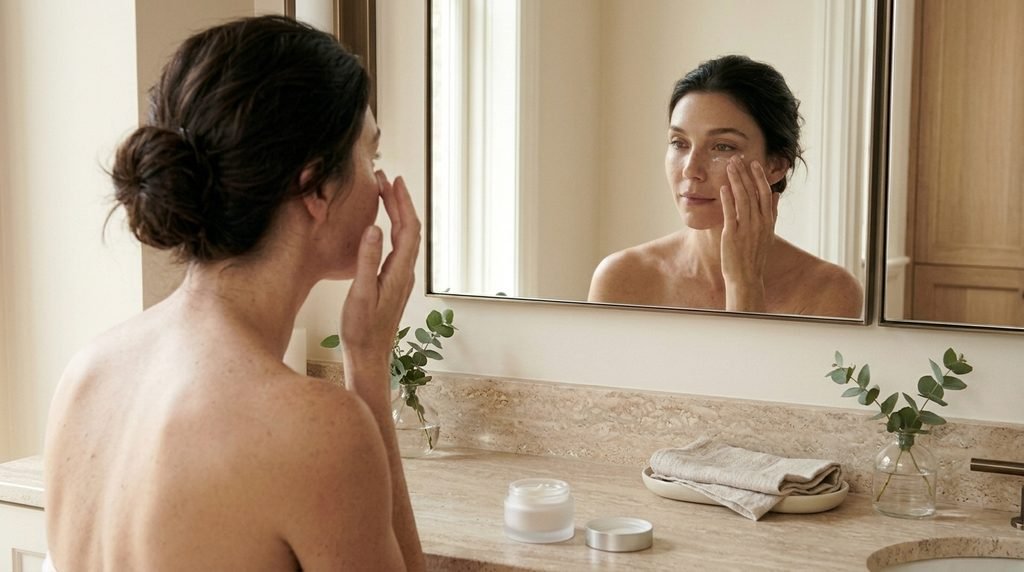
Step 2: Apply a Suitable Moisturizer
Choose a moisturizer that suits your skin type and feels comfortable around your eyes. Ingredients such as glycerin, hyaluronic acid, and ceramides can support hydration and help maintain the skin barrier when included in appropriate formulations.
Apply a small amount using your ring finger or another finger with a light touch. Gently pat the product over the orbital area, avoiding direct contact with the eyes.
You do not need to apply a thick layer. Too much moisturizer can leave the surface slippery, which may cause concealer to move around rather than adhere evenly.
If you use a dedicated eye cream, remember that it is optional. A facial moisturizer that is suitable for the area may be sufficient for many people.
Step 3: Give Your Skincare Time to Settle
One of the easiest ways to improve under-eye makeup is to avoid rushing between skincare and foundation.
Allow your moisturizer to absorb according to how the product behaves on your skin. The surface should feel comfortable rather than excessively wet or slippery.
If you notice a visible layer of product sitting on the skin, gently press away the excess with a clean tissue instead of rubbing.
This simple adjustment can help prevent concealer from separating or sliding.
Step 4: Use Eye Primer Only If You Need It
An eye primer is not essential for concealer, but certain lightweight formulas may help makeup apply more evenly.
Choose a primer that works well with your skincare and concealer. If the primer creates a dry, tight, or powdery surface, it may not be the right option for you.
Try your routine without primer first. Add one only if you notice a specific problem that the product may help address.
Step 5: Be Careful With Exfoliation
If you have flaky under-eyes, it can be tempting to exfoliate the area to create a smoother surface. However, the skin around the eyes can be sensitive, and aggressive exfoliation may worsen irritation or dryness.
Avoid scrubbing away flakes or applying strong exfoliating acids close to the eyes unless the product is specifically intended for that area and used according to its directions.
If you experience persistent redness, burning, swelling, or peeling, pause irritating products and consider seeking advice from a qualified healthcare professional.
3. Choose the Right Concealer Formula
The right concealer can make a noticeable difference, especially when your under-eye area tends to look dry.
Instead of choosing a product solely because it offers full coverage, consider its texture, finish, flexibility, and how it behaves after several hours.
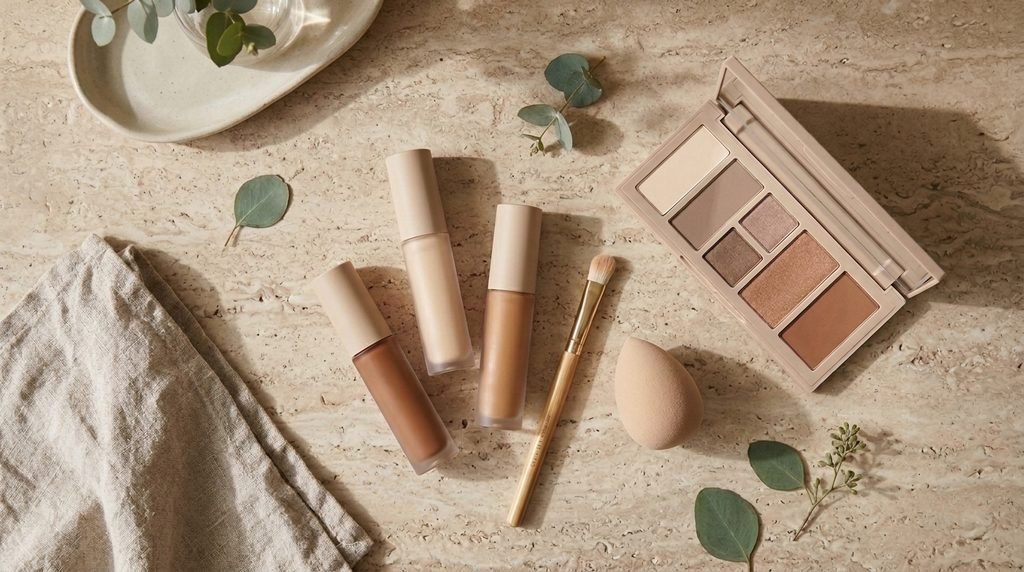
Hydrating or Creamy Concealers
Creamy concealers are often worth trying if your under-eyes look dry or feel tight. Their texture may spread more easily and create a flexible finish.
Look for products described as hydrating, creamy, moisturizing, or natural-finish, but remember that marketing language does not guarantee a particular result.
Check how the product looks on your skin rather than relying on its description alone.
Lightweight Liquid Concealers
Lightweight liquid concealers can work well for everyday makeup because they are generally easy to distribute in thin layers.
If you want a natural finish, choose a formula that provides enough coverage without requiring several applications.
A lightweight product can still crease, so application technique and skin preparation remain important.
Full-Coverage Concealers
Full-coverage concealers can be useful when you want to cover noticeable discoloration. However, some formulas can feel heavy if applied generously to dry under-eyes.
If you prefer full coverage, apply a small amount precisely where you need it and blend the edges carefully.
You can also combine a color corrector with a thinner layer of concealer instead of building up multiple layers of a single product.
Matte Versus Radiant Finishes
A matte finish may suit people who prefer a more polished appearance, while a radiant or natural finish may create a softer look on dry skin.
However, a very shiny formula can sometimes emphasize texture, and a matte formula can still look smooth when the skin is prepared properly.
The best approach is to test the finish in natural light and observe how it wears throughout the day.
How to Choose Your Concealer Shade
For brightening, a concealer that is slightly lighter than your foundation may create a subtle lifted effect. Choosing a shade that is too light, however, can make the under-eye area look gray or overly highlighted.
If your main concern is dark circles, first consider their undertone. Blue or purple discoloration may look different from brown pigmentation, so a neutral or peach-toned corrector may be helpful depending on your skin tone.
For a seamless everyday look, avoid creating an extreme contrast between your under-eyes and the rest of your complexion.
4. How to Make Concealer Look Smooth on Dry Under-Eyes: Step by Step
Now that your skin is prepared and you understand which formulas may work best, follow this simple application routine.
Step 1: Start With a Small Amount
Apply a tiny dot of concealer to the areas where you need coverage.
For many people, this means the inner corner, the area beside the nose, or a small section beneath the eyes where discoloration is most noticeable.
Avoid automatically covering the entire under-eye area with a thick triangle of product. Large applications can be difficult to blend evenly and may leave unnecessary makeup on areas that do not need coverage.
You can always add more if the first layer does not provide enough coverage.
Step 2: Let the Product Set Briefly if Needed
Some concealers benefit from a short pause before blending, while others are designed to blend immediately.
Follow the product’s behavior and instructions. If your concealer becomes difficult to blend or starts to look patchy when left sitting on the skin, blend it sooner.
There is no universal waiting time that works for every formula.
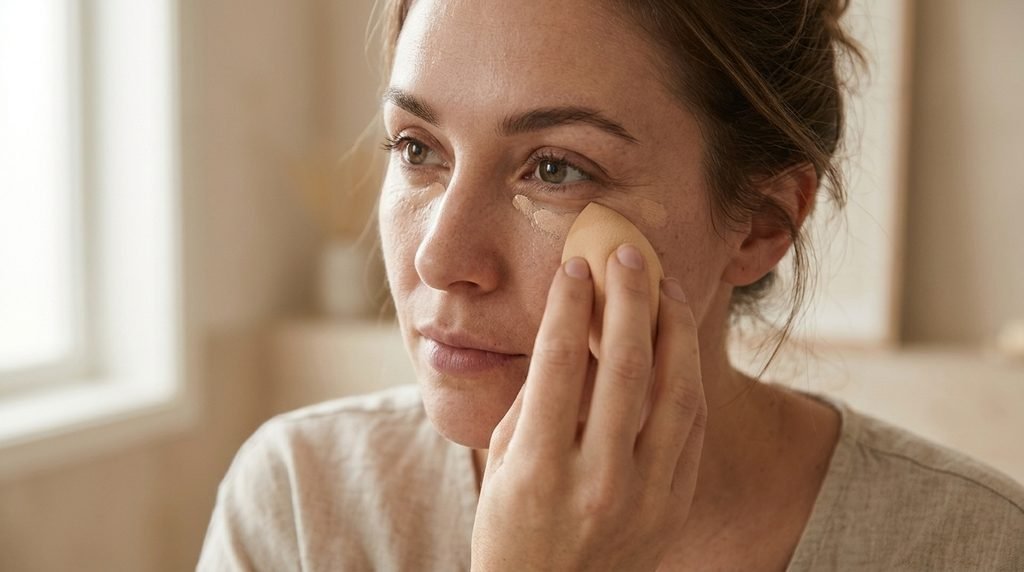
Step 3: Blend With a Damp Makeup Sponge or Soft Brush
A slightly damp makeup sponge can help distribute concealer in a thin layer. Gently tap rather than drag it across the skin.
Alternatively, use a small, soft concealer brush with light, controlled movements.
Choose whichever tool gives you the most even result without requiring repeated rubbing.
The key is to blend the edges into your foundation while keeping enough coverage over the areas you want to conceal.
Step 4: Use Your Fingertip for Gentle Blending
Clean fingertips can also work well with certain creamy concealers. The warmth of your skin may help soften the product and make it easier to spread.
Use a gentle tapping motion rather than pulling the skin.
If your concealer begins to look too sheer, stop blending before you remove too much of the coverage.
Step 5: Apply a Second Thin Layer Only Where Necessary
If dark circles remain visible, add a small amount of concealer to the specific area rather than repeating the application across the whole under-eye.
This targeted approach helps preserve a lightweight finish.
Allow the first layer to settle before adding another if the formula permits. Blend the edges carefully so the additional coverage does not create a noticeable patch.
Step 6: Check Your Natural Facial Lines
Look straight into a mirror and relax your face. Notice where the concealer naturally collects when you smile or move your eyes.
If you see excess product gathering in a crease before setting, gently tap the area with a clean fingertip or sponge to redistribute it.
This is more effective than adding powder immediately over a thick layer of creased concealer.
Step 7: Assess the Finish in Natural Light
Indoor lighting can make makeup appear smoother or more uniform than it looks outdoors.
Check your concealer near a window, if possible, and look for visible edges, dry patches, excess shine, or areas that need a little more coverage.
Make small adjustments instead of adding product everywhere.
5. Should You Use Color Corrector?
Color corrector can be useful when dark circles remain visible despite applying concealer.
Instead of relying on additional layers of concealer, a corrector uses a complementary color to help neutralize the appearance of certain discoloration.
Peach and Orange Correctors
Peach correctors may help balance blue or purple tones on lighter to medium skin tones. Deeper orange or terracotta shades may work better for some medium-deep and deep skin tones.
The best shade depends on your skin tone and the color of the discoloration.
Start with a very thin layer. Applying too much corrector can create a noticeable orange or peach cast beneath your concealer.
How to Apply Color Corrector
- Prepare the under-eye skin with a suitable moisturizer.
- Apply a tiny amount of corrector to the darkest area.
- Blend the edges gently.
- Add a thin layer of concealer that matches your complexion.
- Set lightly only if necessary.
The corrector should help neutralize the discoloration without becoming visible through the concealer.
When You May Not Need One
If your under-eyes have only mild discoloration, a well-matched concealer may provide enough coverage.
A corrector is an optional step, not a requirement for achieving smooth makeup.
Keeping the routine simple can be especially helpful if your under-eye area is dry or easily irritated.
6. How to Set Concealer Without Making It Look Cakey
Setting powder can help improve concealer’s longevity, but the amount you use matters.
For dry under-eyes, the objective is to reduce unwanted movement without removing the skin’s natural-looking finish.
Choose a Finely Milled Powder
A finely milled setting powder can be easier to apply in a thin, even layer. Look for a formula that feels comfortable and does not leave your skin looking excessively dry.
Loose powder is not automatically better than pressed powder. Both can work when applied carefully.
Consider the shade as well. A powder that is too light or strongly tinted may change the appearance of your concealer.
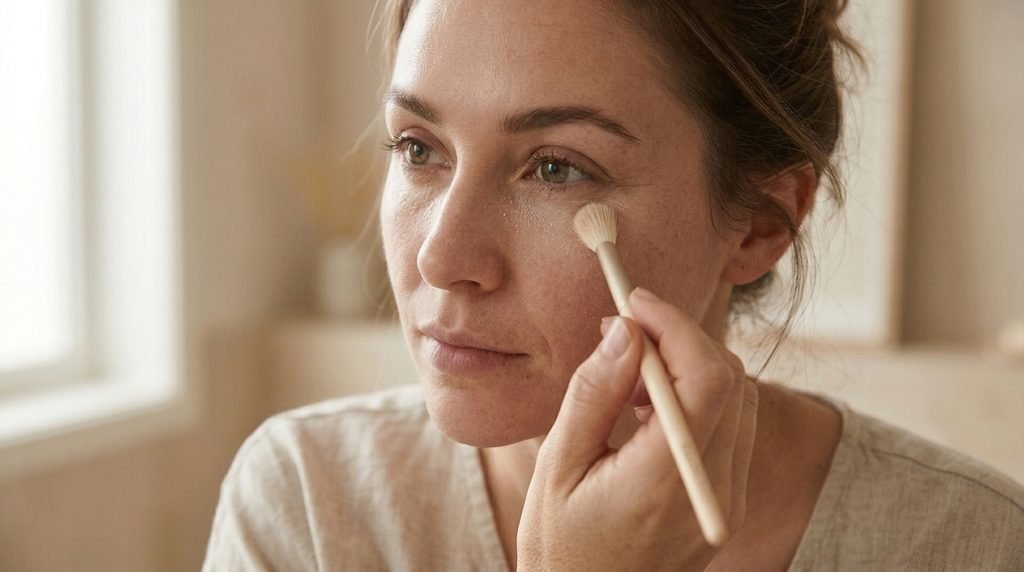
Use a Small Brush
Dip a small, soft brush into the powder and tap away the excess before bringing it to your face.
Lightly press or sweep a minimal amount over the areas where concealer tends to crease or move.
You generally do not need to cover the entire under-eye with a heavy layer of powder.
Remove Creases Before Setting
Before applying powder, look straight ahead and check whether the concealer has collected in fine lines.
Gently tap those areas smooth with a clean fingertip or sponge.
Setting powder over already creased product can make the lines more noticeable and create a heavier finish.
Skip Baking if Your Under-Eyes Are Very Dry
Baking involves leaving a generous layer of powder on the skin for a period before brushing away the excess.
Although some people enjoy this technique for a highly perfected makeup look, it may be uncomfortable or visually drying for certain under-eye areas.
If your goal is a fresh, natural finish, a small amount of powder is often a better starting point.
Can You Skip Powder Completely?
Yes. If your concealer stays in place without powder, there is no need to set it automatically.
Some creamy concealers work well without additional setting products, particularly when applied in thin layers.
Test your makeup over several hours to see whether skipping powder gives you the result you prefer.
7. Common Concealer Mistakes to Avoid
Even a good concealer can look uneven when the application technique is not suited to your skin.
Avoiding these common mistakes may improve your results without adding more products to your routine.
Applying Concealer to Very Dry Skin
If the skin feels tight or visibly flaky, applying concealer immediately may emphasize those areas.
Prepare the skin with a suitable moisturizer and allow it to settle before makeup.
If dryness persists, reconsider any products that may be irritating your skin.
Using Too Much Product
Heavy layers can collect in fine lines and look thick under natural light.
Start with a small amount and build coverage only where necessary.
Remember that concealer does not need to erase every natural variation in your skin to look beautiful.
Choosing a Shade That Is Too Light
An excessively pale concealer can make dark circles appear gray or create a stark contrast with your complexion.
Choose a shade that blends naturally with your foundation, then use a slightly lighter shade for subtle brightening if desired.
Blending Too Aggressively
Repeatedly rubbing the under-eye area can disturb the product and may irritate delicate skin.
Use light tapping movements and stop once the concealer is evenly distributed.
Applying Too Much Powder
Excess powder can make fine lines and dry texture more noticeable.
Tap away extra powder from your brush and concentrate application where you actually need it.
Mixing Products That Do Not Work Well Together
Some skincare, primers, foundations, and concealers may not layer well with one another. You may notice pilling, separation, or patchiness.
If this happens, simplify your routine and introduce products one at a time.
Allow each layer to settle and observe whether the issue improves. There is no single ingredient combination that guarantees every product will work well together.
Expecting Makeup to Remove Natural Texture
Under-eye skin naturally moves when you smile, speak, and blink. Fine lines and texture are normal.
A more realistic goal is to soften the appearance of discoloration while keeping the makeup comfortable and natural-looking.
8. How to Keep Under-Eye Concealer Looking Fresh All Day
A smooth application at home is only part of the process. Your concealer also needs to remain comfortable as your skin moves throughout the day.
Avoid Repeatedly Adding More Concealer
If your makeup begins to look uneven, resist the temptation to add another layer immediately.
First, gently press the area with a clean fingertip or tissue to remove excess product or oil. If the concealer has creased, tap it back into place before deciding whether you need a touch-up.
Adding fresh concealer over several existing layers may create a heavier finish.
Keep Your Makeup Tools Clean
Dirty makeup sponges and brushes can accumulate product residue and may distribute makeup unevenly.
Clean your tools regularly according to their material and the manufacturer’s guidance, and allow them to dry thoroughly before use.
Use clean fingers whenever you blend directly with your hands.
Avoid Rubbing Your Eyes
Frequent rubbing can disturb makeup and may irritate the skin around the eyes.
If your eyes feel itchy or irritated, address the underlying issue rather than repeatedly correcting your concealer.
Use Setting Spray Selectively
A setting spray may help some makeup routines wear more evenly, but it is not essential.
Choose a product that suits your skin and avoid spraying directly into your eyes. Follow the product directions and allow it to dry before touching the area.
If a spray makes your skin feel tight or uncomfortable, discontinue its use.
Make Small Touch-Ups
For a quick midday refresh:
- Check whether the concealer has creased.
- Gently tap the area to smooth the product.
- Remove visible excess if necessary.
- Add a tiny amount of concealer only if coverage is missing.
- Use a minimal amount of powder if shine or movement is a concern.
This approach helps preserve a lightweight finish instead of building up several layers.

9. Best Makeup Tips for Different Types of Under-Eye Concerns
Not every under-eye concern requires the same approach. Adjusting your technique to your main concern can help you avoid unnecessary layers.
If You Have Dry, Flaky Under-Eyes
Focus on gentle skincare and comfortable hydration before makeup.
Choose a concealer that spreads easily without requiring repeated blending. Avoid aggressive exfoliation and heavy powder application.
If the flaking is persistent or accompanied by redness or discomfort, consider pausing potentially irritating products and seeking professional advice.
If You Have Fine Lines
Apply less concealer and concentrate it where coverage is needed.
After blending, look straight ahead and gently smooth any product that has gathered in the lines before setting.
A thin layer may look more natural than attempting to fill every line with makeup.
If You Have Dark Circles
Identify whether the discoloration looks blue, purple, brown, or a combination of tones.
A suitable color corrector may help reduce the need for multiple layers of concealer. Follow with a thin layer of a well-matched concealer.
Remember that dark circles can have several causes, including genetics, pigmentation, facial structure, and visible blood vessels. Makeup can change their appearance, but it does not eliminate their underlying cause.
If You Have Oily Skin but Dry Under-Eyes
Your skin can have different characteristics in different areas.
Use skincare suited to the under-eye area rather than automatically applying your oil-control products everywhere.
You may prefer to set the central face more thoroughly while using very little powder beneath the eyes.
If You Prefer Full-Coverage Makeup
You can still achieve a polished finish with full-coverage concealer.
Prepare your skin carefully, use a controlled amount of product, and build coverage in thin layers.
Consider correcting discoloration first so that you do not need to apply a thick layer of concealer across the entire area.
If You Prefer a Natural Everyday Look
Choose a lightweight concealer with a finish you enjoy and apply it only where you need coverage.
Blend the edges seamlessly into your foundation or bare skin
You may find that a touch of corrector, a small amount of concealer, and no powder creates the most comfortable result.

10. Frequently Asked Questions
1. Why does my concealer look dry under my eyes?
Concealer may look dry because of insufficient skin moisture, a formula that emphasizes texture, excessive powder, or too much product. Gentle skincare, thin layers, and careful setting can help improve the finish.
2. What is the best concealer for dry under-eyes?
A creamy, hydrating, or natural-finish concealer is a useful starting point for many people with dry under-eyes. However, the best option depends on your skin, coverage needs, and preferred finish. Test the formula on your skin before committing to it.
3. Should I moisturize before applying under-eye concealer?
Yes, a suitable moisturizer can help the under-eye area feel comfortable and may improve how concealer spreads. Use a small amount and allow it to settle before applying makeup.
4. How do I stop concealer from creasing under my eyes?
Apply a thin layer of concealer, blend it gently, and smooth any product that collects in fine lines before setting. Use only a small amount of powder if needed. Some creasing is normal because the skin moves naturally.
5. Is powder necessary for under-eye concealer?
No. Powder is optional. If your concealer remains comfortable and lasts well without it, you can skip this step. If you need more staying power, apply a minimal amount of finely milled powder.
6. Is a damp beauty sponge better than a brush?
Both tools can work well. A slightly damp sponge may help distribute concealer in a thin layer, while a soft brush can offer more precise application. Choose the tool that creates an even finish with the least amount of rubbing.
7. Should under-eye concealer be lighter than foundation?
It can be slightly lighter if you want a brightening effect, but the difference should suit your complexion and desired makeup style. A shade that is too pale may emphasize discoloration or create an unnatural contrast.
8. Can eye cream prevent concealer from looking cakey?
Eye cream may improve skin comfort and hydration, which can help makeup apply more evenly. However, it cannot guarantee a crease-free finish. The formula, amount of concealer, and setting technique also matter.
9. Why does my concealer separate after a few hours?
Separation may occur when products do not layer well together, when too much skincare remains on the surface, or when makeup is disturbed by oil, moisture, or rubbing. Try simplifying your routine and applying thinner layers.
10. How can I make under-eye concealer look natural without foundation?
Use a concealer that closely matches your skin tone and apply a small amount only where needed. Blend the edges carefully into your bare skin. A subtle corrector may help if dark circles remain visible.
11. Can I use concealer on flaky under-eyes?
You can apply concealer, but visible flaking may remain noticeable. Prioritize gentle skincare, avoid scrubbing the area, and use a thin layer of a comfortable formula. If the skin is irritated or persistently peeling, address that concern before focusing on makeup coverage.
12. How much concealer should I use under each eye?
There is no universal amount. Begin with one or two small dots in the areas that need coverage, then add a little more only if necessary. The aim is to use enough product to even the appearance of discoloration without creating a heavy layer.
11. Final Thoughts
Learning how to make concealer look smooth on dry under-eyes is less about buying more makeup and more about understanding the relationship between skincare, formula, application, and setting.
Start with comfortable, well-prepared skin. Choose a concealer that blends easily, apply it in thin layers, and use a color corrector only when it helps address visible discoloration. Before setting, gently smooth away excess product that has collected in fine lines.
Most importantly, do not feel that you need to cover every natural line or texture. Under-eye skin moves throughout the day, and a little creasing is normal.
With a thoughtful routine and a lighter application technique, you can create a fresh, polished under-eye finish that works for your everyday makeup style.
Experiment with one adjustment at a time, observe how your concealer wears in natural light, and keep the steps that make your skin feel comfortable.
The best under-eye makeup routine is one that provides the coverage you want while allowing your skin to look like skin.